One of the techniques I discovered many years ago was a way to make my inlay work look like marquetry, with much less effort than true marquetry takes!
It is possible to buy ready mixed coloured inlay materials such as 'Inlace', but this is very expensive to use for this technique, so I use Clear Casting Polyester Resin, which I have found in craft shops, and add things to give it colour. The company I use most, Tirante, produces an excellent range of polyester dyes to allow you to mix a full range of opaque and transparent colours. I also use metal powders – brass for a greeny-gold, pewter for a silver colour and copper. You have to increase the amount of catalyst you use with the resin when you add colours or powders (from 1% to about 4%). I have also used ‘glitter’ powder to good effect - the sort crafters use to decorate cards.
The technique is quite straightforward:
I shape the back of the platter and put a dot in the centre of the foot. I then face off the front about 3mm thicker than it will ultimately be.
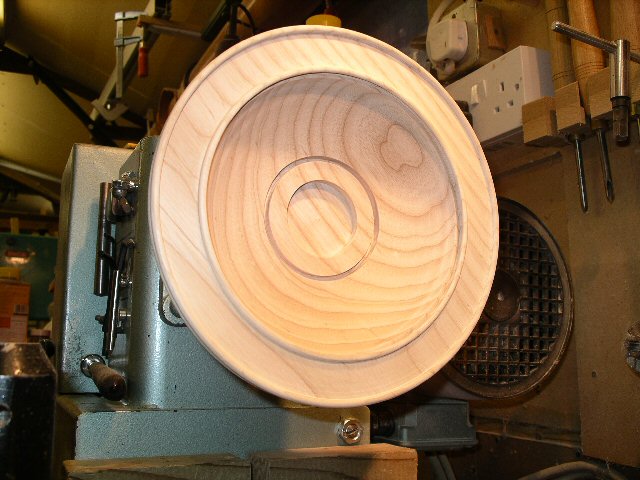
I then turn a slightly dovetailed (undercut) recess for the inlay pattern. I make it at least 6mm deep. This helps the inlay to stay put even if the wood contacts so much that the inlay gets loose. This has only happened once, and I guess the timber was too damp.
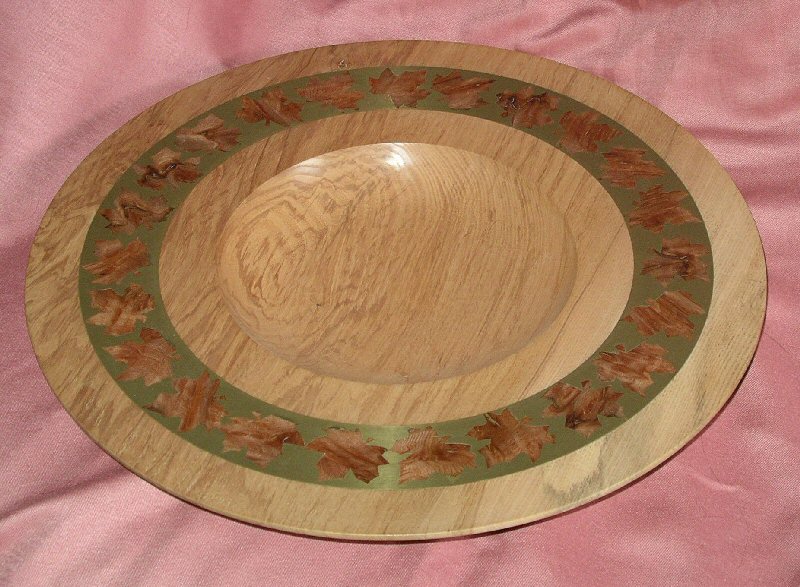
I then choose interesting off-cuts of timber. (The ones used on the big platter above were small pieces of burr oak too small to be useful for turning.) I slice them into 6mm slices and cut out the desired shape (in the above platter 24 leaf shapes about the same size.) I have a Hegner scroll saw to do the cutting but also use the CNC mill if the shape is too complex.
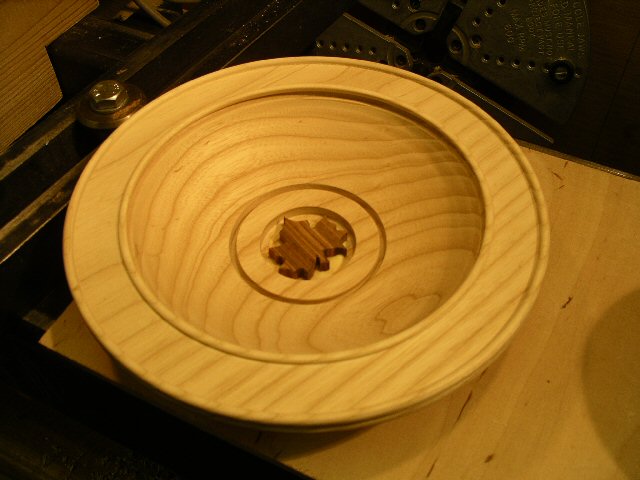
I then stick the cut out shapes into the recess with a good quality wood glue. (I use 'Tight Bond') and leave it to dry for 24 hours - it must be fully cured before adding the resin.
If I am using a coloured inlay made with dye, I liberally soak acrylic sanding sealer into any surface the colour might touch as the colour can leach along the grain and spoil the wood. Sanding sealer stops this. It is best to leave it overnight to cure as wet sanding sealer seems to stops the resin from setting. I have used cellulose sanding sealer but it really needs at least 24 hours to cure before adding the resin.
I then need to know how much inlay to make up to fill the recess. For that I keep some rice! I fill up the recess with the dry rice grains, shake them off into a bag and fill a measuring jug with them. It is not completely accurate, but it gives you an idea of how much inlay you will need and saves too much waste.
I mix the clear resin and the chosen powder together trying to get as little air in the mix as possible. I then add the hardener. You need to add about 2.5 to 4 times the quantity of hardener that you use for clear resin castings if you add metal powder to the resin. The larger the quantity mixed the lower the increase in hardener.
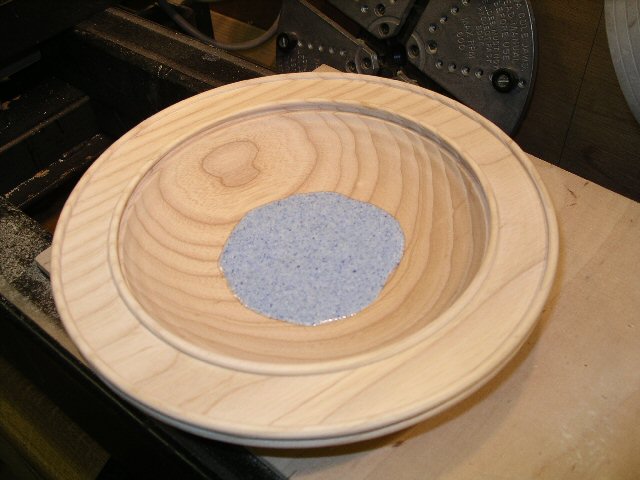
I spend some time getting rid of all the air bubbles that I can. You usually have plenty of time before the resin gets too thick to pour. It helps to put the mixture onto a vibrating surface (I find a couple of minutes on the scroll saw bed works a treat) then the inlay mixture has to be poured carefully and slowly into the recess. There will still be some air bubbles but they will rise to the surface where they will be turned away.
I fill the recess to the top, even though I will be cutting away at least 2 mm, because any tiny bubbles left in the mix will end up in this top layer and if you cut into them on the finished surface it leaves a pitted surface. The piece needs to be on a completely flat surface - I usually check it for level before pouring in the resin. I also put newspaper under it - in case it spills over.
I leave the resin to set for at least 24 hours - longer if possible.
The piece is then mounted on a chuck and the top is finished.
When turning resin areas, you have to remember that the density of the material will be changing all the time. I have found that you need the speed up as high as it will safely go, you need really sharp tools and you need to take very fine cuts. The resin will take a very good finish if you treat it gently. If you try for too deep a cut you can get a very poor finish or it can break out. Shear scraping can give the best finish on resin. For that, I use a 1/2 inch Gary Rance skew chisel sharpened on both sides to 30 degrees and with the cutting edge flat rather than skewed. (It still works as a skew but I find the shape more useful). I then rub a small burr on one side with a diamond file and use the burr to cut tiny shavings off the resin.
Sanding and finishing need some extra care as well. The resin clogs the abrasive and it is easy to scratch the wooden surface with this clogged material if you don't check the abrasive regularly. Also the different densities mean that too much pressure can cause dips to appear (like over-sanding Ash) at the joint between the resin and the wood..
I usually use sanding sealer on the wood. You need to check that die from the inlay wood does not stain the resin - padauk, for example, is a timber that will leach red dye into the sanding sealer given half a chance. If staining could be a problem I treat the wood inlay areas with sanding sealer first with a fine paintbrush, then when that is dry I can go over the whole item.
If you want to put inlay somewhere that will be on a curved surface when finished, you have to allow enough thickness in the recess and cut out pieces that you don't go through the pattern! (I did once in a demo - very embarrassing!)
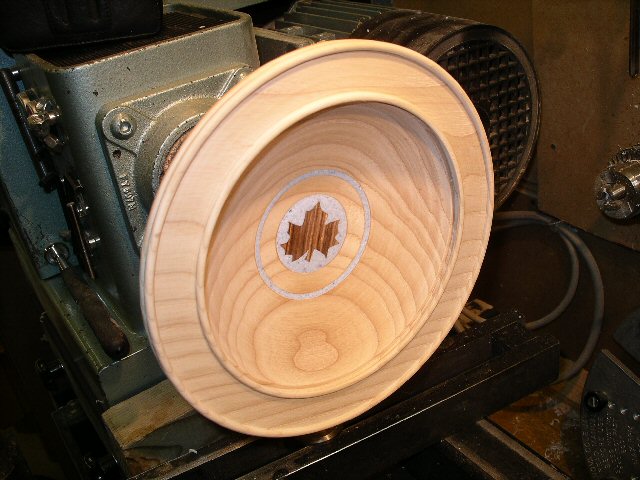
I often put inlay in the centre of a platter. 'Revealing' what you have hidden inside the inlay resin can be quite exciting for a demo - but not so good if you take off too much!
Turning complete - just the back to finish!
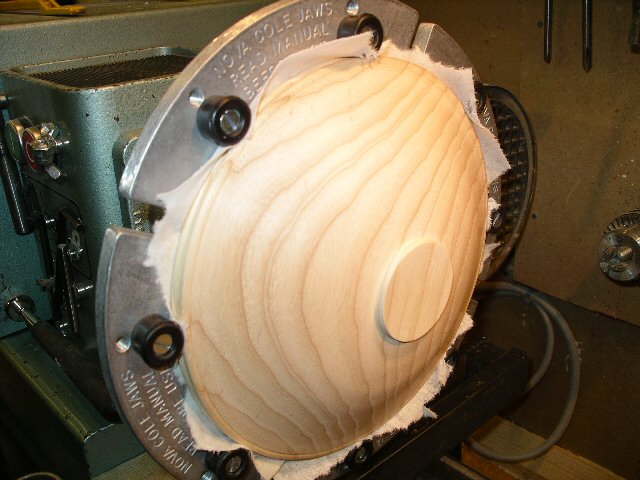
Refining the foot using Cole jaws - I can also use my vacuum chuck for this - especially when the piece is bigger than 30cm diameter. However, most of the time I put a ready-shaped piece of wood in the chuck which I can refine to make it fit the bowl recess if it is too loose a fit. I put a couple of layers of kitchen roll between the 'jam chuck' and the inside of the bowl and bring the tail stock up to the centre of the base - which I marked at the beginning. I then use a small gouge to remove the chucking marks and refine the base. I finish sanding the back. The pip in the centre is finally hand sanded.
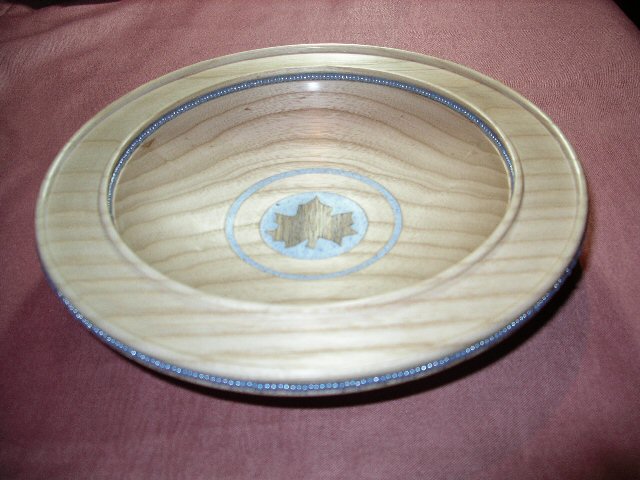
Finished platter - you can just see the line of turquoise glass beads I set into a recess under the rim. This inlay is 'Inlace' with added turquoise glitter powder.
Another way of making a recess is to get my other half, Chris, to cut it using his computer controlled milling machine. More complex shapes can be produced, including text, and patterns such as club badges. Here is a video of the machine producing such a badge: