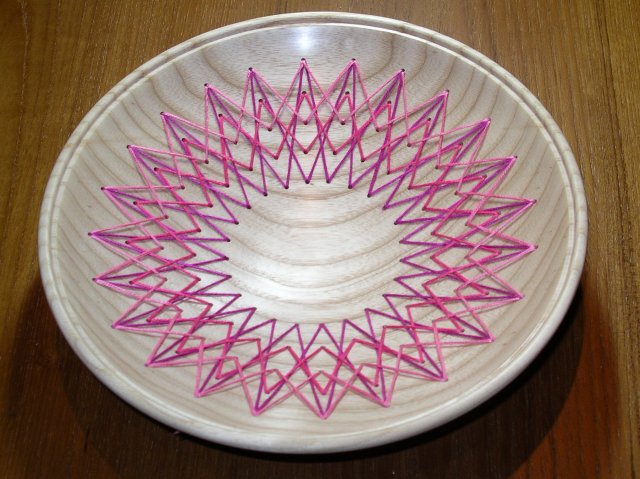
I have always enjoyed mathematical patterns. Those generated by curve stitching can be very satisfying.
Just in case you have never met the idea - it is basically the joining of points with straight lines to form curves.

I have made pieces with reasonably thin walls (about 3mm), pierced strategic holes in them to form the grid for curve stitching and then used embroidery silks to create the lines, sewing them in and out of the holes.
First I turn the back of the bowl - then I mark out the grid for the holes. I draw a circle with the lathe spinning close to the spigot for the foot. I then add concentric circles, spacing them evenly up the side of the bowl or platter. I use the indexer on my lathe to draw in lines from the ring by the foot to the edge of the piece. As my indexer divides the circle into 24, I usually use this number - but you can use less - as long as they are evenly spaced.
If you don't have any way of indexing a piece you can get small circular protractors from somewhere like W H Smith for a couple of pounds however I make a large (diameter 290mm) perspex protractor with indexing holes that can be used off the lathe. Email me for details. Some people have used them to make up an indexing system for their lathe but - being perspex - they must not be spun on the lathe - they are too brittle.
I then pierce or drill a hole in every line intersection to give
me my grid. You need to hold the drill at right angles to the
curve of the piece to ensure the holes will be evenly spaced on
the inside of the piece.
It is possible to do it with a hand drill, but a lot easier with
something like a Dremmel.
The inside is turned and there are 2 reasons I do the piercing first. If I have drilled the holes to the same depth, I know how thick my bowl is as soon as the holes start appearing. The second reason is that unless you have a drill turning at the speed of a dental drill (400,000 revs) - there will be a tendency for the drill push small splinters of wood off the surface (break out) if you do the piercing after turning.
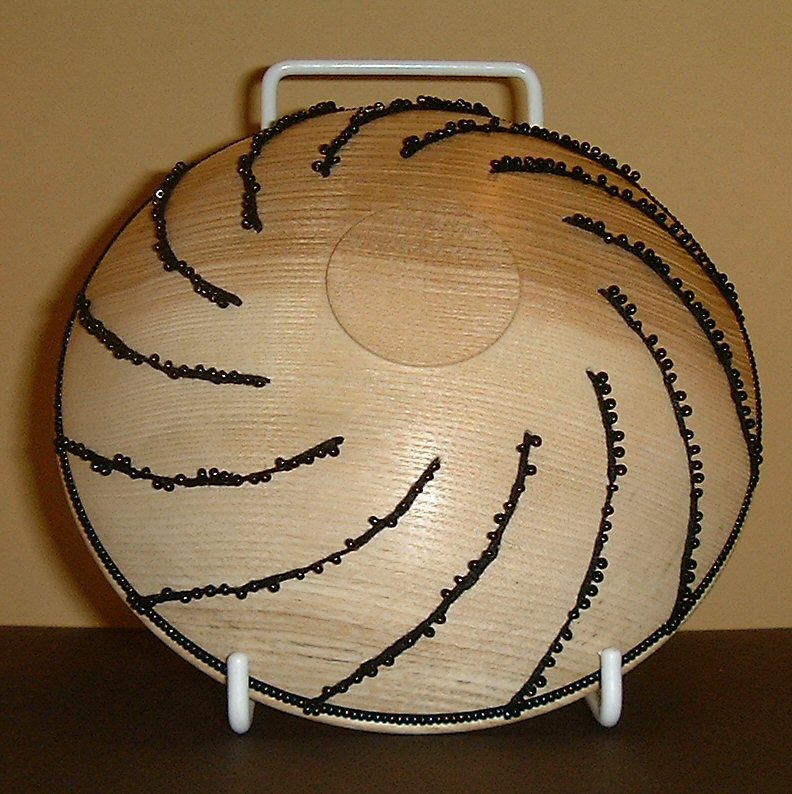
Finally, this method for forming a grid has the added advantage of allowing you to form lovely spirals.
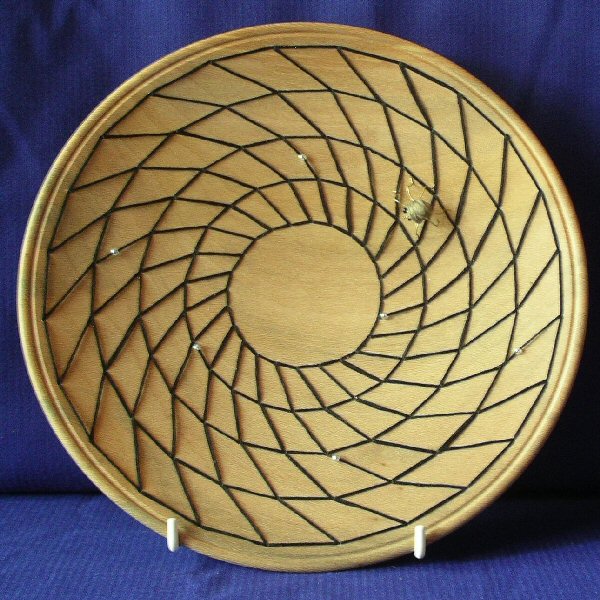
This spiders web is formed by joining a point on the outside curve to the next one along on the next curve in - rather than the next point on the radius into the centre. I first saw this possibility when watching Stuart Mortimer marking out a twist on a spindle and I have used it to produce a number of effects in embroidery, beading and piercing.
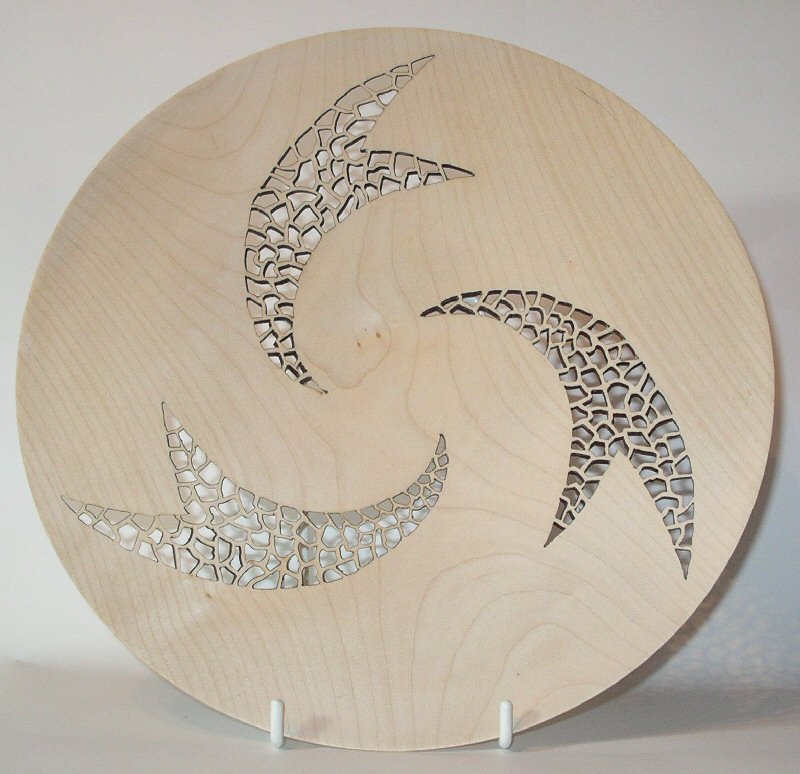
Both of these pieces were marked out in the same way initially: